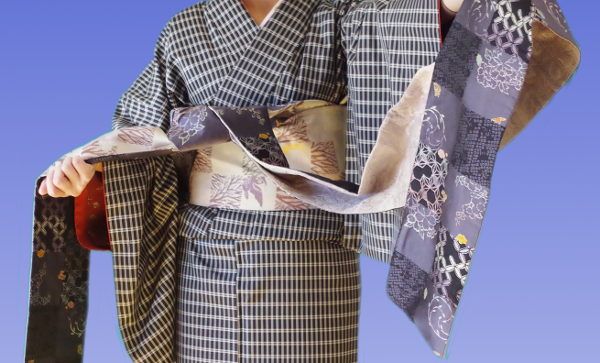
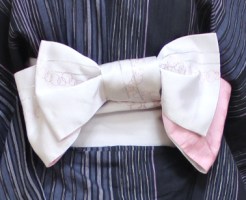
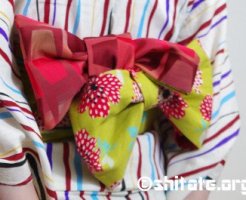
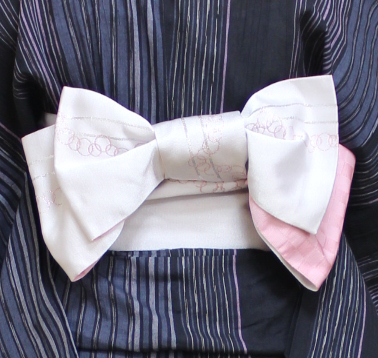
オシャレな感じの方がよくやってる半巾帯の結び方を写真解説します。

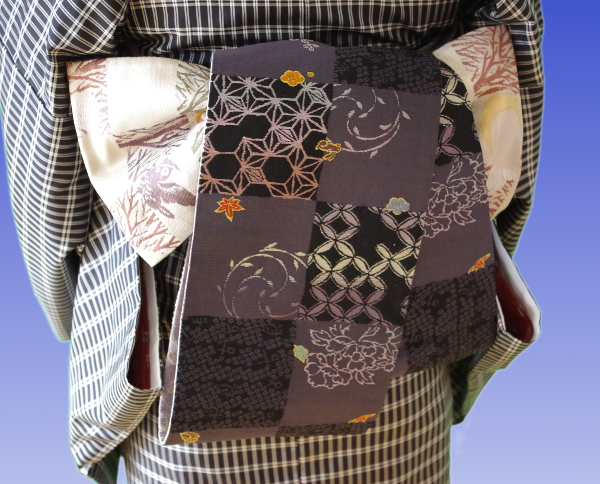
こういうのです。
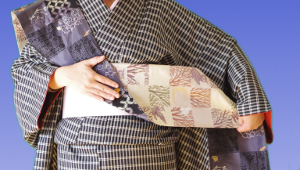
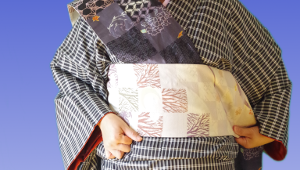
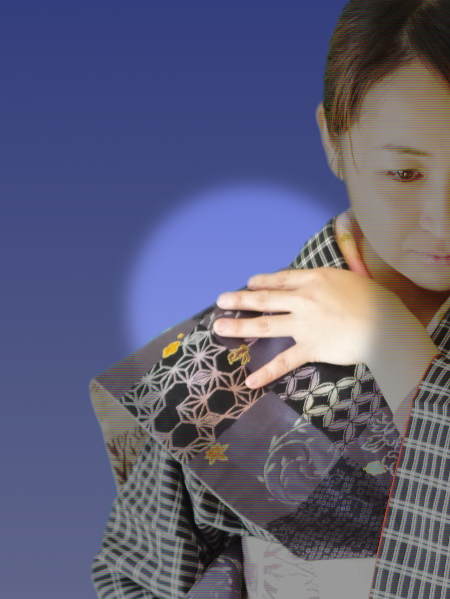
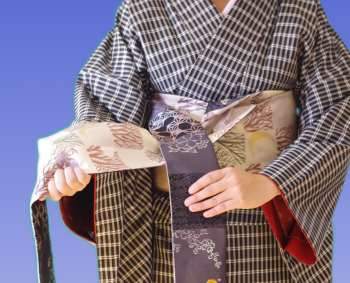
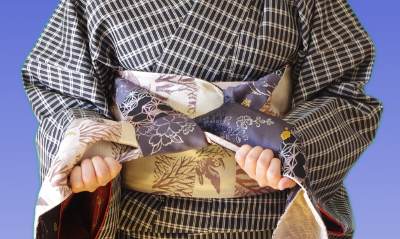
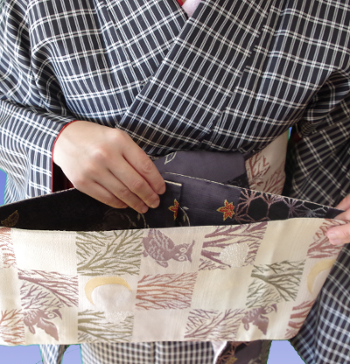
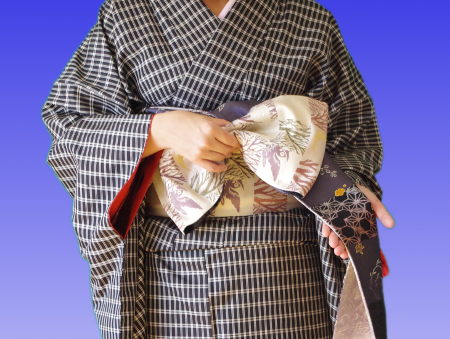
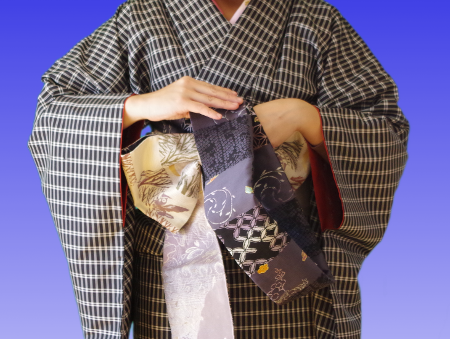
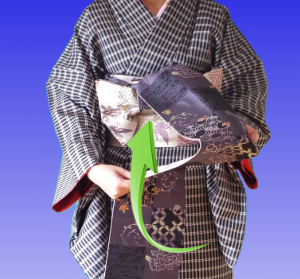
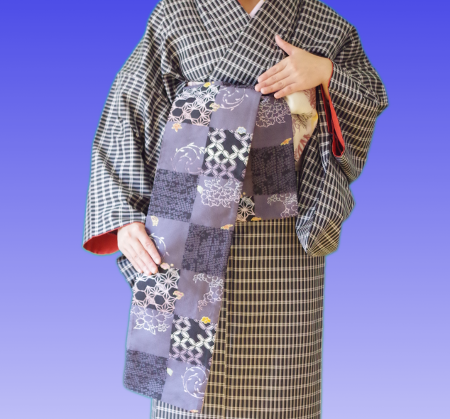
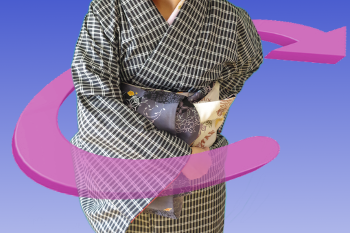
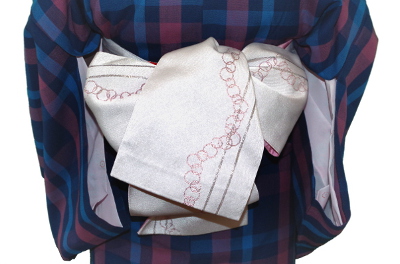
下の写真のように 表に出したい側を前にして構えます。
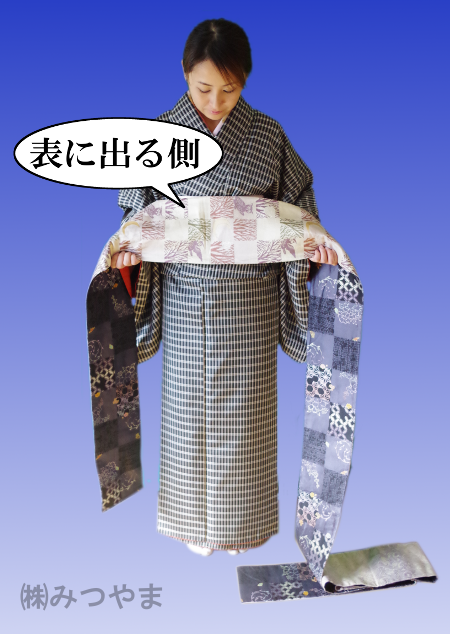
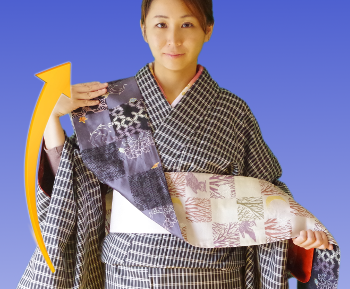
短い方の帯はしを肩に かけます
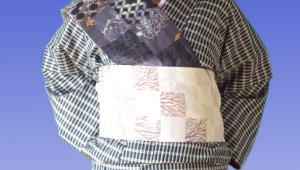
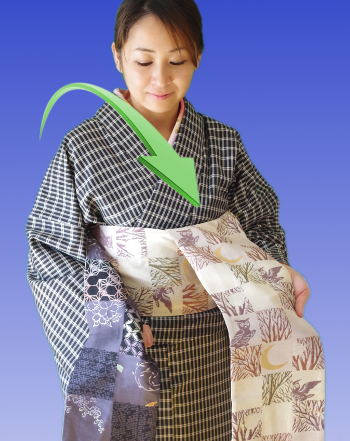
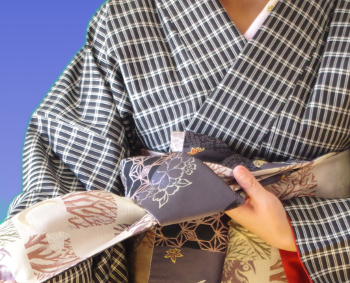
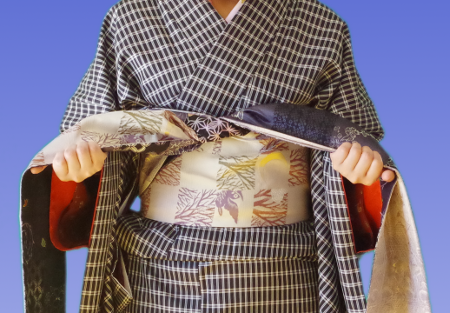
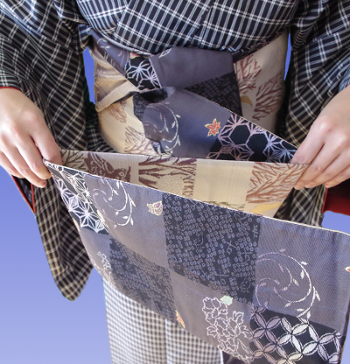
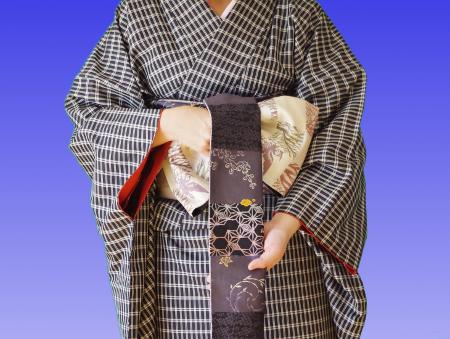
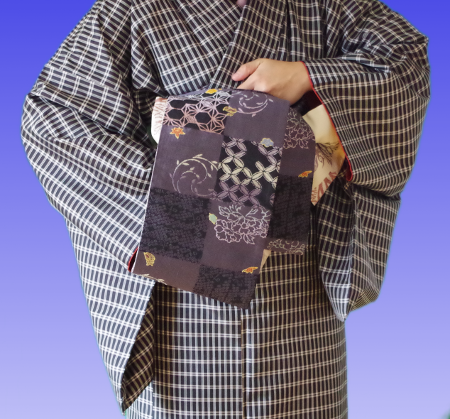
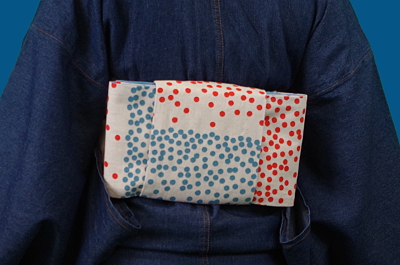
まず 帯を胴に巻いていきます

上の写真の向き(反時計回り)に2周 巻きます。巻いていく時は 帯の下側を持つようにし、緩まないようにピシ~っと。
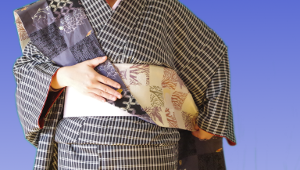


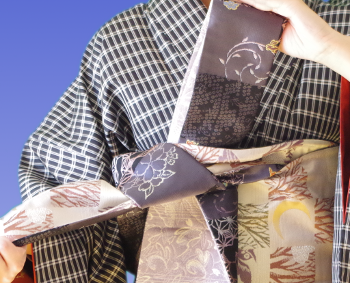
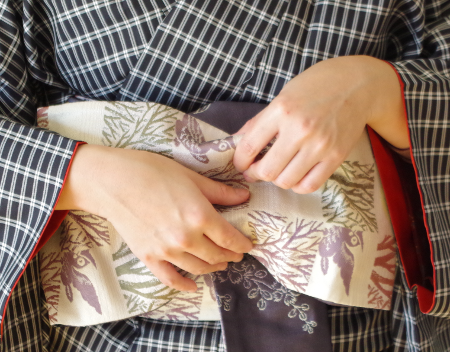
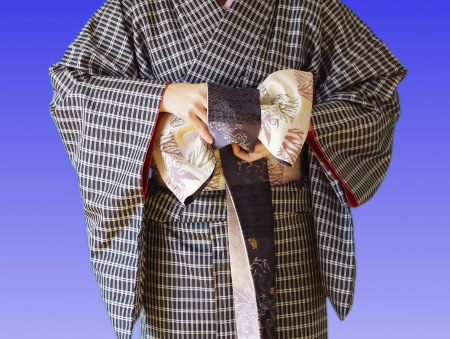
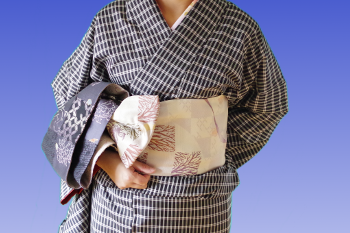
一週目、巻き終わりました。一度 ギュっと締めて2周目へ
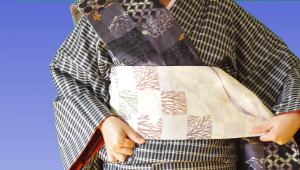
1周目と2周目が揃うように気をつけながら
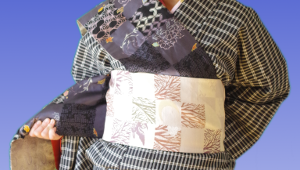
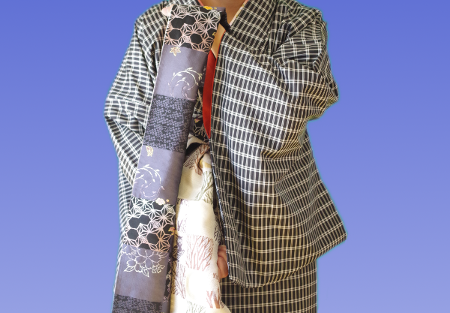
胴巻き終了です。
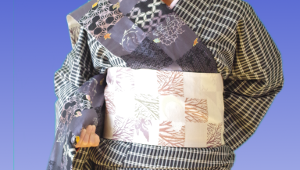
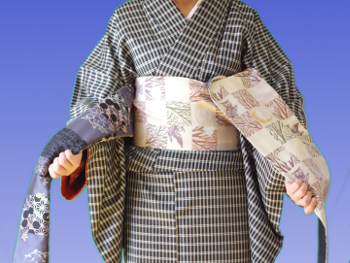
結んでいきます。
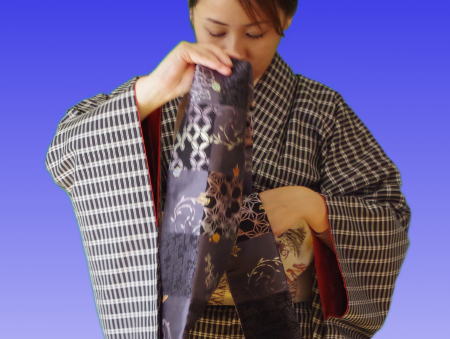
肩にかけた帯を
おろします。

胴をぐるぐる巻いてきた方を半分に折ります。
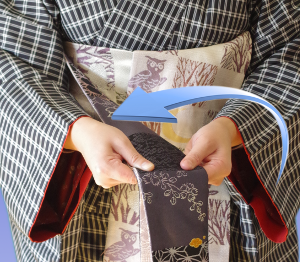
帯の両端を

長い方の帯端を上側にし 交差させます

くぐらせて

引き抜きます
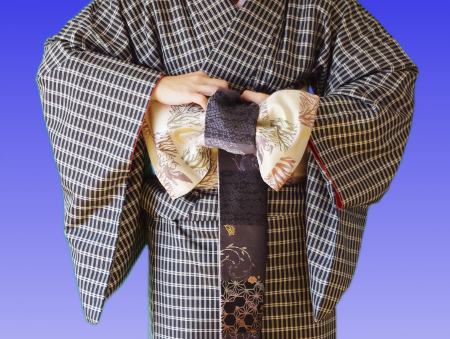
帯の両端を持ち、

ぐい~!っと締めます。
結び目を 一度ねじっておきます。

これで、ほどけて「キャー!」となりにくくなります。
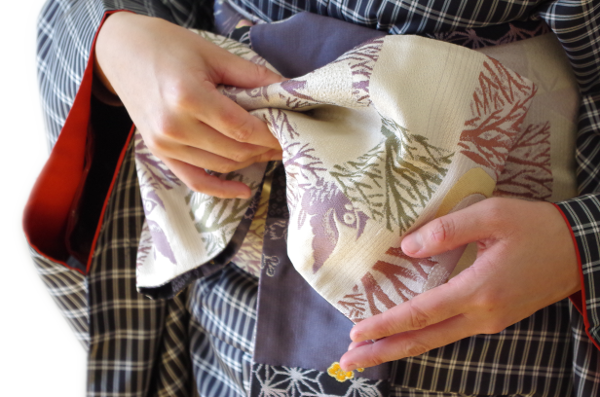
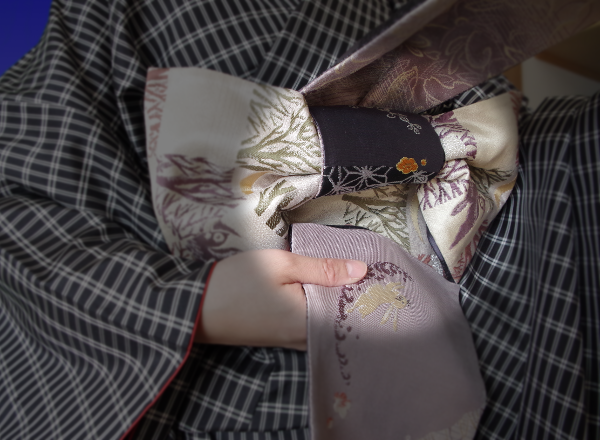
リボン部分を作ります
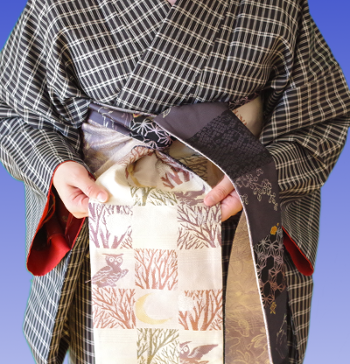
写真のように短い方の端を広げます。


こんな感じで畳みます。
リボン部分に反対側(今回 使用した帯の場合は紫の側)を出したい方は、


という感じで。
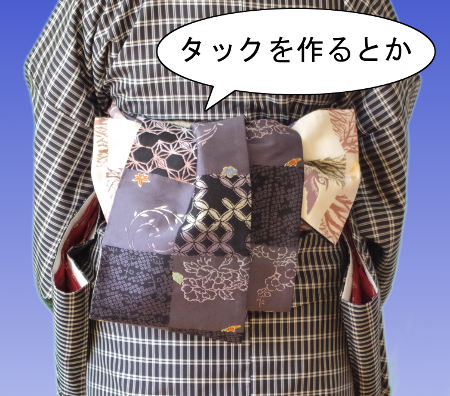
リボンの「ひだ」を作ります。

左右のリボンの長さ、ひだの数などは、自分の好きにアレンジしてください。
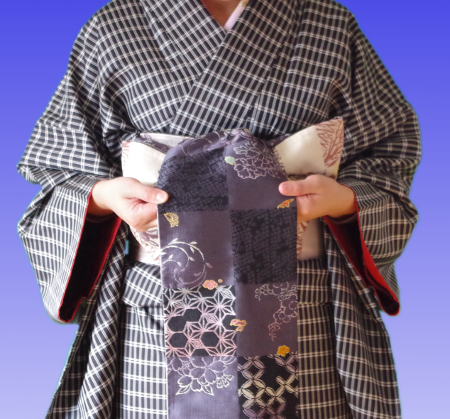
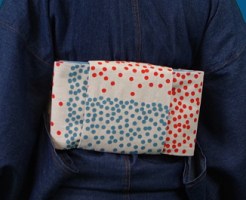
作ったリボンを1周巻きつけて固定します。


しっかりと引っぱって結んでおきます
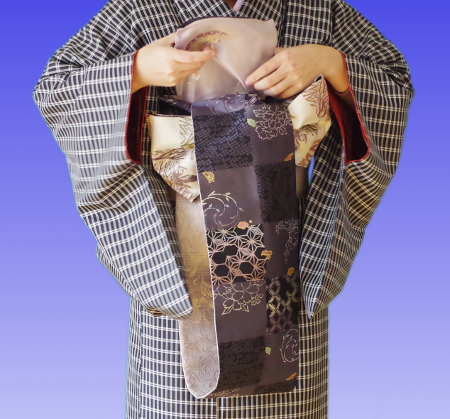
この結び方のメインの部分を作ります
広げて
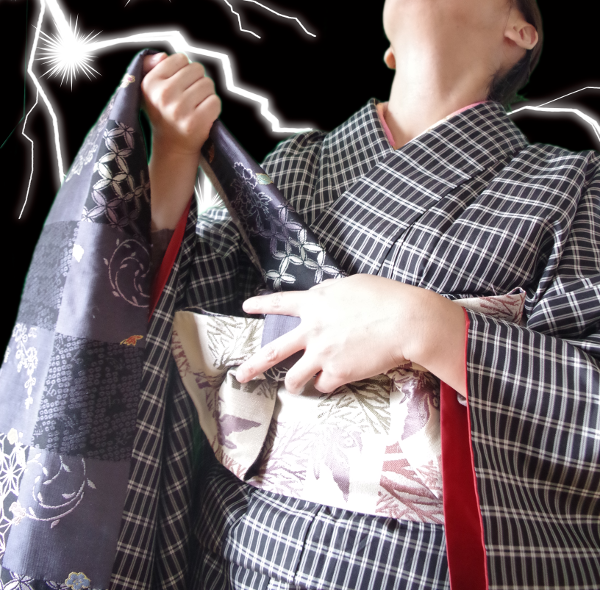
↑ 下から上の写真のところを くぐらせます。
もう一回 くぐるように見せかけて
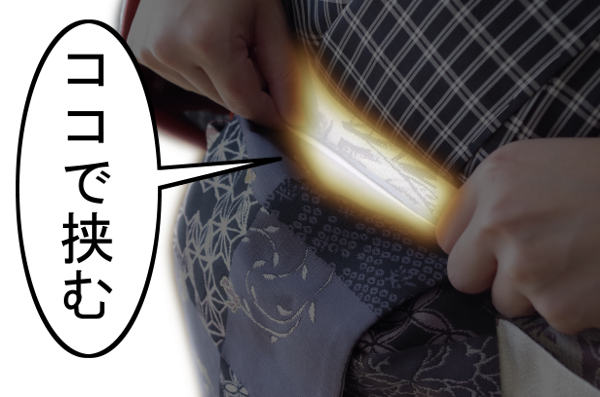
上の写真のトコで止めます。(光らせているのは、くぐらせた帯端です)
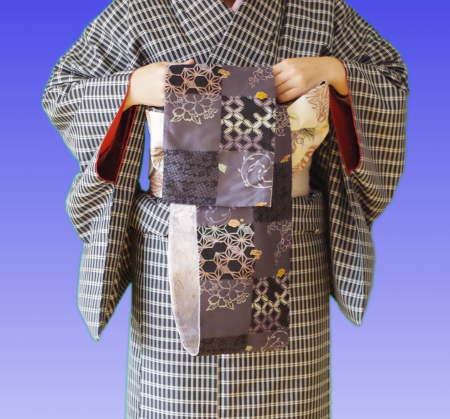
結び終わりました
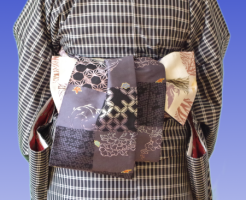
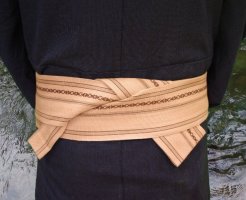
結び目を背中に回します。
時計回りに まわした方が着くずれしにくいです。
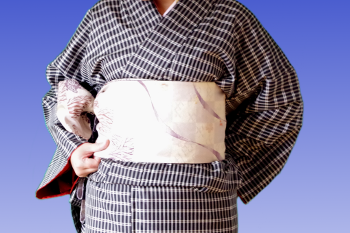
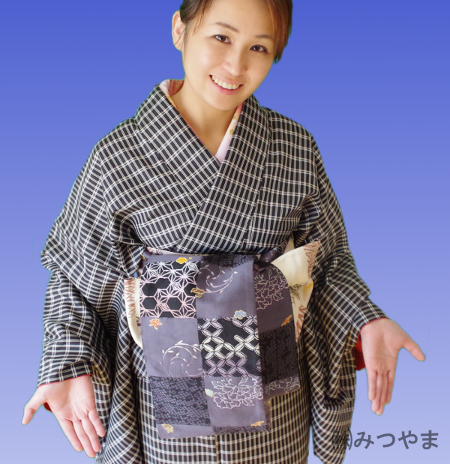
完成!お疲れさまでした
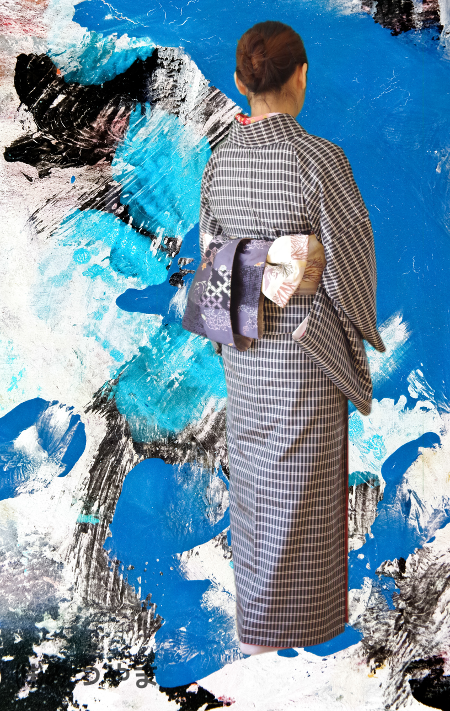
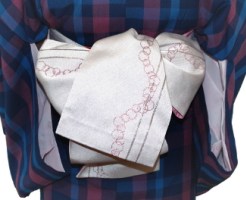
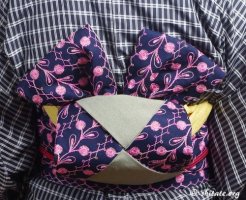
ちょっとしたアレンジ例
各パーツの長さを変えるとか、リボンのヒダの数を変えるとか、要は 脱げなければ良いだけの話なので 堅苦しく考えずに ご自由にアレンジしてみてください。
ジョン・・・?
・・・・・

ジョーーーーン !!
お疲れ様でした
他にも色々な帯の結び方を解説しています。
★の数が少ない方が簡単


はじめまして、
半巾の帯結びを調べていたら辿り着きました。
とても、わかりやすく面白い展開の仕方で印象に残りました。
また、他のパターンの掲載を楽しみにしております!
ありがとうございます。
モデル担当が他の部署に拉致されて帰ってこないのですが、そろそろ返還交渉してきます。
こんにちは^^
とっても分りやすいうえにめっちゃ面白くて他の結び方もいろいろ見たくなりました(^^♪
是非是非色んなサイトに発信してください
楽しみにしてます
ありがとうございます。
スタッフの間で次はこの帯結びをやろう!という話が微妙に出ています。
気長にお待ちくださいませ!(冬までには・・・)
おもしろくて分かりやすいです!笑
締めます!が気合い入ってて締め具合がバッチリ伝わりますね
ありがとうございます。
こういう長めの解説記事は途中でオフザケを入れないと書いてる私自身のモチベーションが持たないという事情もあります。
面白く、かつわかりやすかったです!
ありがとうございました
ありがとうございます。
最後のオチ、絶対スベるという周辺スタッフの静止を無視して良かったです。